A fence might not appear to have a lot of “moving-parts” so to speak. Although true to an extent, there detailed steps an approximate amount of time required to have your fence professionally designed and installed.
Let’s break the fence installation process down step-by-step.
Your professional fence installation from start-to-finish
Step 1-Design consultation and property assessment
Clear communication drives your fence project from the beginning. It’s essential that you and your chosen installer are on the same page.
You’ll want to agree on:
- Design details
- The materials to be used
- Expectations about the overall installation process
Your fence installer will also require specific details about your property.
- Layout
- Any potential issues such as property lines, existing construction, etc.
- Precise measurements
Step 2-Obtain permits (if necessary) and utility clearance
Your particular city, community, or neighborhood association could require a permit for fence installation. Confirm your status and secure any necessary permits before you contract with your fence installer.
Identifying underground utilities prior to fence construction is also an essential part of this step.
Permits and utility clearance can ensure a legal and safe fence installation.
Step 3-Select your design and related materials
Privacy, security, and appearance are key factors in this step. Ask your fence installer about the best options and fence materials for your property and home.
Details to consider would include:
- Type of material such as wood, vinyl, chain-link, etc.
- The material’s lifespan and maintenance requirements
- Cost
Step 4-Site preparation
Once you have contracted with your installer the work begins.
- Removing any current fencing you have in place.
- Marking fence lines according to previous measurements and property lines.
- Clearing any debris that would infringe on your fence design and installation.
- Leveling the ground as needed to help ensure that your fence will remain sturdy.
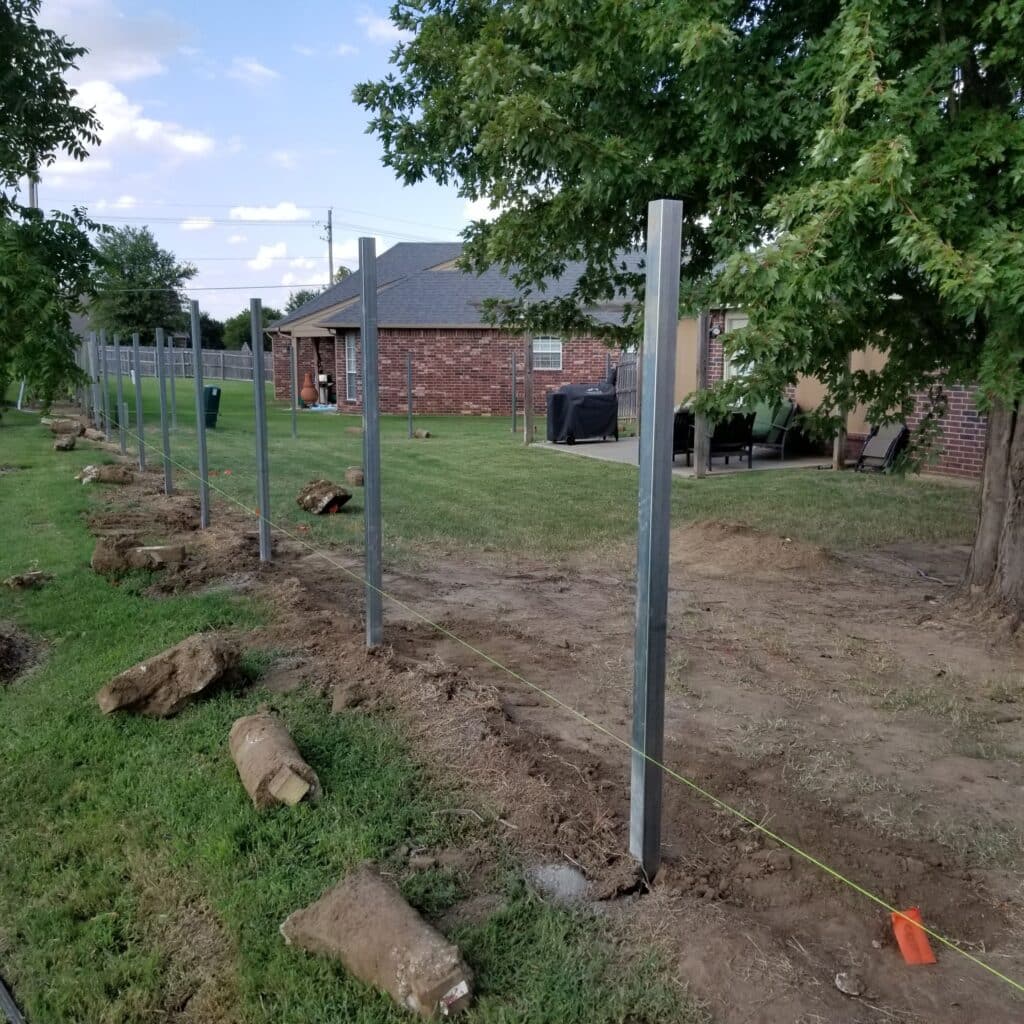
Step 5-Fence installation
The step you’ve been waiting for.
- Post holes dug.
- Posts set with concrete (time allowed)
- Fencing materials attached per your design/material choice.
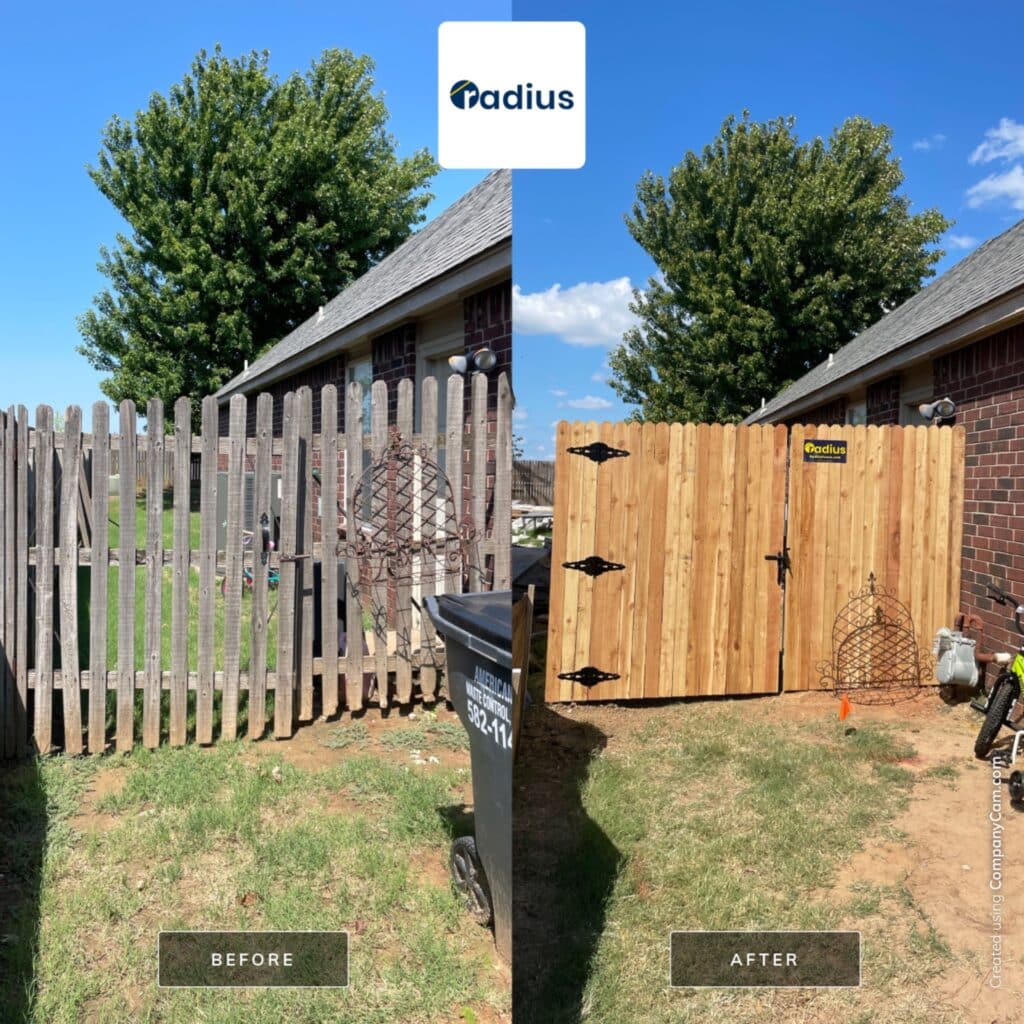
Step 6-Inspection, touch-up, and clean-up
A thorough inspection provides quality assurance. Any installation issues will be corrected to help ensure the longevity and security of your fence investment.
And when all the work is completed, your property will be thoroughly cleaned up.
Depending on the design and the materials you select, the entire fence installation process can typically be completed within two to seven days.
Each step and the time required for a professionally installed fence is part of the detailed process that creates a durable, secure, and attractive addition to your property.
Professional fence installers are trained, experienced, and equipped to install your fence on time and efficiently. The following resource will help maximize your time during the initial consultation step:
Compare Fence Options & Features
Choose professional and experienced fence installation for your project
Radius Fence in Bixby and Tulsa is a leader in fence and gate consultations and installation.
- Experts are available to help with your decision, installation, and your ongoing questions about protecting your fence investment.
- Upgrade your home’s security and appearance.
Contact Radius Fence in Tulsa about your fence questions. Or use our easy and convenient pricing tool for your new or upgraded fence and gate solution.